Diablo 4's long-lost Lucky Coin quest has finally been solved and leads to the Horadrim
Three hidden coins unlock a secret fight against the echoes of Neyrelle, Lorath, and Donan.


One of Diablo 4's longest-running secret questlines has finally been solved. The Lucky Coin has been sitting in Diablo 4 since the base game, and it is now part of a much bigger mystery that stretches through both expansions. Players have finally worked out how to turn the three hidden Coins into three pieces of cursed jewelry, and what happens when you collect them all. The reward is a secret Horadric portal leading to a hidden boss fight against the echoes of Neyrelle, Lorath, and Donan.
Big credit goes to the Not Finding A Cow Level community, whose members pieced together the various steps needed to solve the entire quest. And small warning because this one is a lot more involved than your average Diablo 4 side quest.
Find the Lucky Coin
The first part of the chain starts with the original Lucky Coin. You will need to find a Greed Shrine and have its effect active as you are looting the corpse of an enemy killed during an NPC event. The Lucky Coin can then drop from the corpse. Helltides in Skartara often tend to spawn these events, so you have a little bit more chance there.
You need to be playing on Torment 1 or higher for the coin to drop. Having a decent amount of Lucky Hit Chance also appears to improve your chances, but there is no guaranteed drop rate. If you have 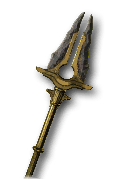 Ahavarion, Spear of Lycander, it can also make finding the required shrine effect considerably easier.
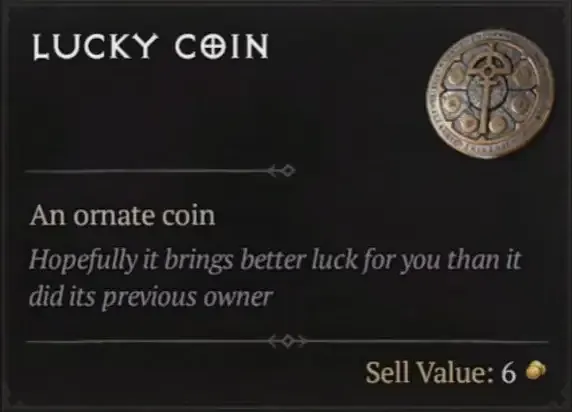
Turn Five Lucky Coins Into the Ring of Misfortune
Once you have a Lucky Coin, take it to the Wishing Well east of Cerrigar in Scosglen. Throwing one coin into the well gives you the Well-Wisher achievement, but that is only the beginning. To get the next quest item, you need five players using the five original Diablo 4 classes:
Barbarian
Druid
Necromancer
Rogue
Sorcerer
Each player needs to throw a Lucky Coin into the well. So yes, essentially, you cannot do this quest alone. If you do not have anyone to play with, there are multiple great communities such as LoatheBurger who often group up with others to help people complete quests like this. You can also check out and ask around on the Diablo 4 Reddit, or directly in-game via party finder or local chat. Once all five coins have been thrown into the well, everyone involved receives the Ring of Misfortune.
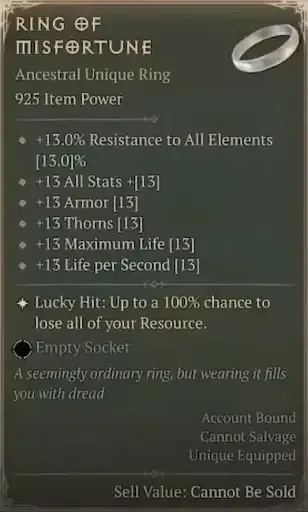
You can do it with fewer people by switching characters and returning to the same player at the well, but it is way trickier than just trying to find a few players to do this with.
Find the Luckier Coin
The second Coin takes you to Nahantu. Find a Blast Wave Shrine, then use its effect to destroy highlighted destructible objects in the environment. Doing this has a chance to spawn a special rat. Most rats are not what you are looking for. The important one is a lighter-colored rat that cannot be killed. This is where you have to pay attention, because once you have found it, you need to follow it. The rat eventually explodes and drops the Luckier Coin.
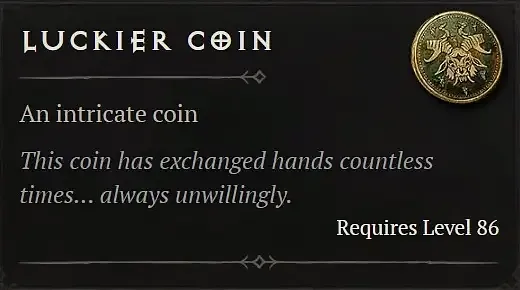
Rumor wants you to follow for around seven minutes, but the timing is not really that accurate anymore. Either way, do not wander off once you find the correct rat.
Get the Ring of the Jinx
Now that you have your Luckier Coin, head to Samuk in Nahantu. There, you want to look for a moss-covered grave that becomes interactable once you have the Coin. Interact with it, and you will receive the Ring of the Jinx.
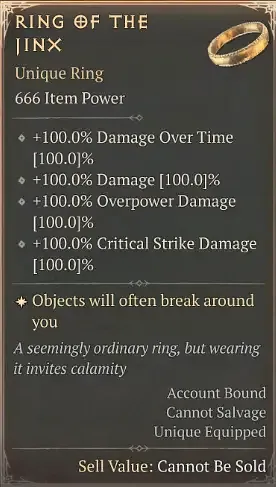
That is your second piece of cursed jewelry.
Find the Luckiest Coin
Yes, one more coin...The final Coin requires a properly coordinated group. You will need four players in Skartara, with each player assigned to one of four elemental Golems:
Raging Fissure
Flowing Rage
Droplet
Snagging Vein
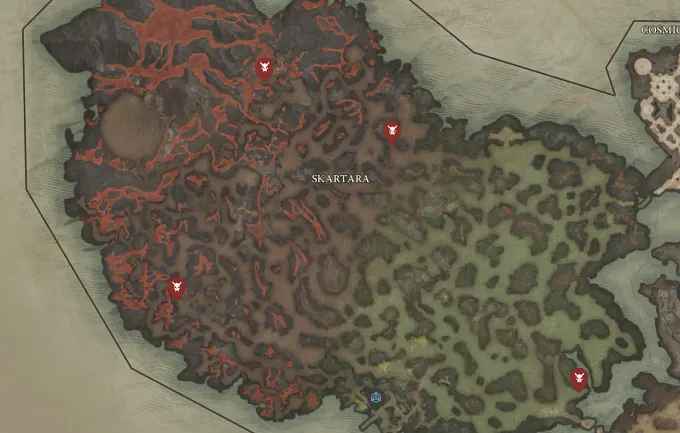
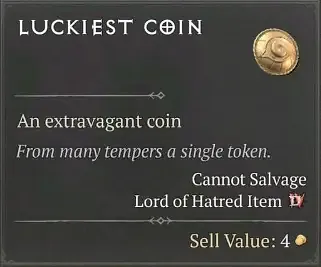
This is where things are tricky, because each player needs to kill their assigned Golem at the same time. Get the timing right, and everyone in the group receives a Luckiest Coin.
If someone messes up, you can log out and back in to respawn the Golems. This is probably the part where having a few friends or a community group makes things considerably easier. Being in a voice chat for this also helps, because you can really coordinate properly.
Wait 24 Hours for the Amulet of Dark Omens
Once you have the Luckiest Coin, head to Temis and follow the path past the Aegoye dungeon toward the bridge leading to Lycander's island.
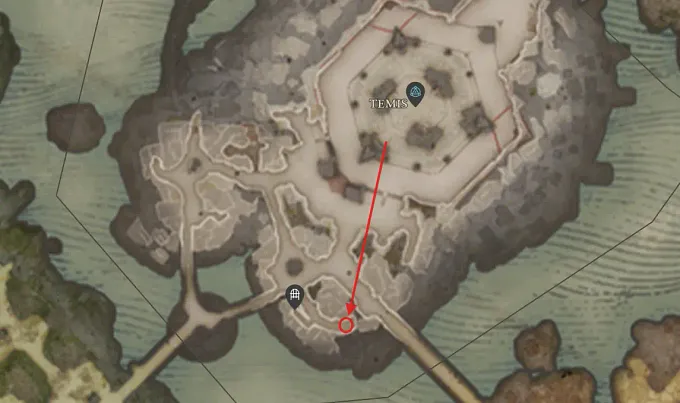
You will find a bed there. Interact with the pillow with the Luckiest Coin in your inventory, and then... wait... for 24 hours... And you only have around 2 minutes to come back, so you better set a timer on, and do this when you are not busy. If you make it back in time, you will receive the Amulet of Dark Omens.
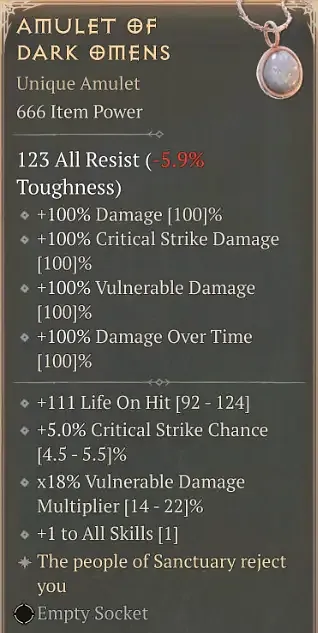
That is the final piece you need, and to be fair, it is plenty enough given the pain it is to get all this.
Open the Secret Horadric Portal
Now comes the good part! You will have to go to Torment 12 for this, and travel to Lorath's Cabin in the Fractured Peaks, between the Nevesk and Kyovashad waypoints.
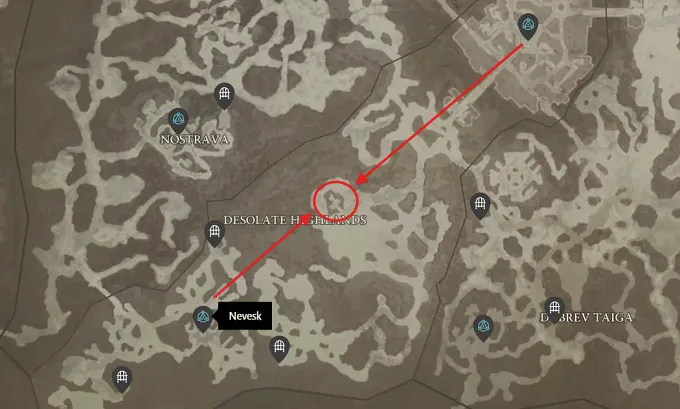
Equip all three pieces of cursed jewelry:
Ring of Misfortune
Ring of the Jinx
Amulet of Dark Omens
By equipping, we mean really equipping them in your Jewelry slots. This means that if any of your current Rings or Amulets are vital for your build, you might have a hard time with what comes next. You have to wear all three items for the upcoming fight or you will get zero rewards. Once you have all three equipped, a hidden Horadric portal opens inside the cabin. Step through it, and you will enter a hidden area called The Foyer.
And waiting inside are three very familiar faces.
Fight the Unlucky Council
The hidden encounter throws you against 3 people that you do not want to fight:
Echo of Neyrelle
Echo of Lorath
Echo of Donan
It is an Uber version of three of Diablo 4's most important characters, and it is one of the best secret encounters Blizzard has hidden in the game. As mentioned, you cannot remove the items for the fight. The game checks if you are wearing them when rewards are handed out. So do not open the portal, swap back to your normal jewelry, and assume you will still get the loot. If you are doing this with a group, the same applies to your party members who want rewards.
The Horadric Coin Lets You Repeat the Fight
Defeating the Unlucky Council rewards you with the Horadric Coin boss trophy. Head to the Horadric Cube and put the following items at the same time:
1 Horadric Coin
2 Engagement Rings
1 Lost Amulet
The rings and amulet are junk items that can be obtained through fishing, so you just have to go near water and fish a bit, they usually drop pretty fast. Transmute the three items with the Horadric Coin, and you will create a Sack of Ill Trinkets that contains:
1 Ring of Misfortune
1 Ring of the Jinx
1 Amulet of Dark Omens
You can then use the three pieces to reopen the Horadric portal. After you have crafted the Sack, it can also be purchased from Squirt the Peddler near the fountain in Temis. Be careful because Squirt is not really cheap, you do need over 1,000,000 Gold for a Sack of trickets.
The Lucky Coin mystery may finally be solved, but the story might not be finished. If you check the Horadric Coin, it appears to have another interaction that no one has figured out yet. Its tooltip hints at a flipping mechanic, but exactly what that does, or how to activate it, remains unclear. Whoever first figured out that you needed to wait 24 hours for a coin under a pillow will probably figure that one out too...